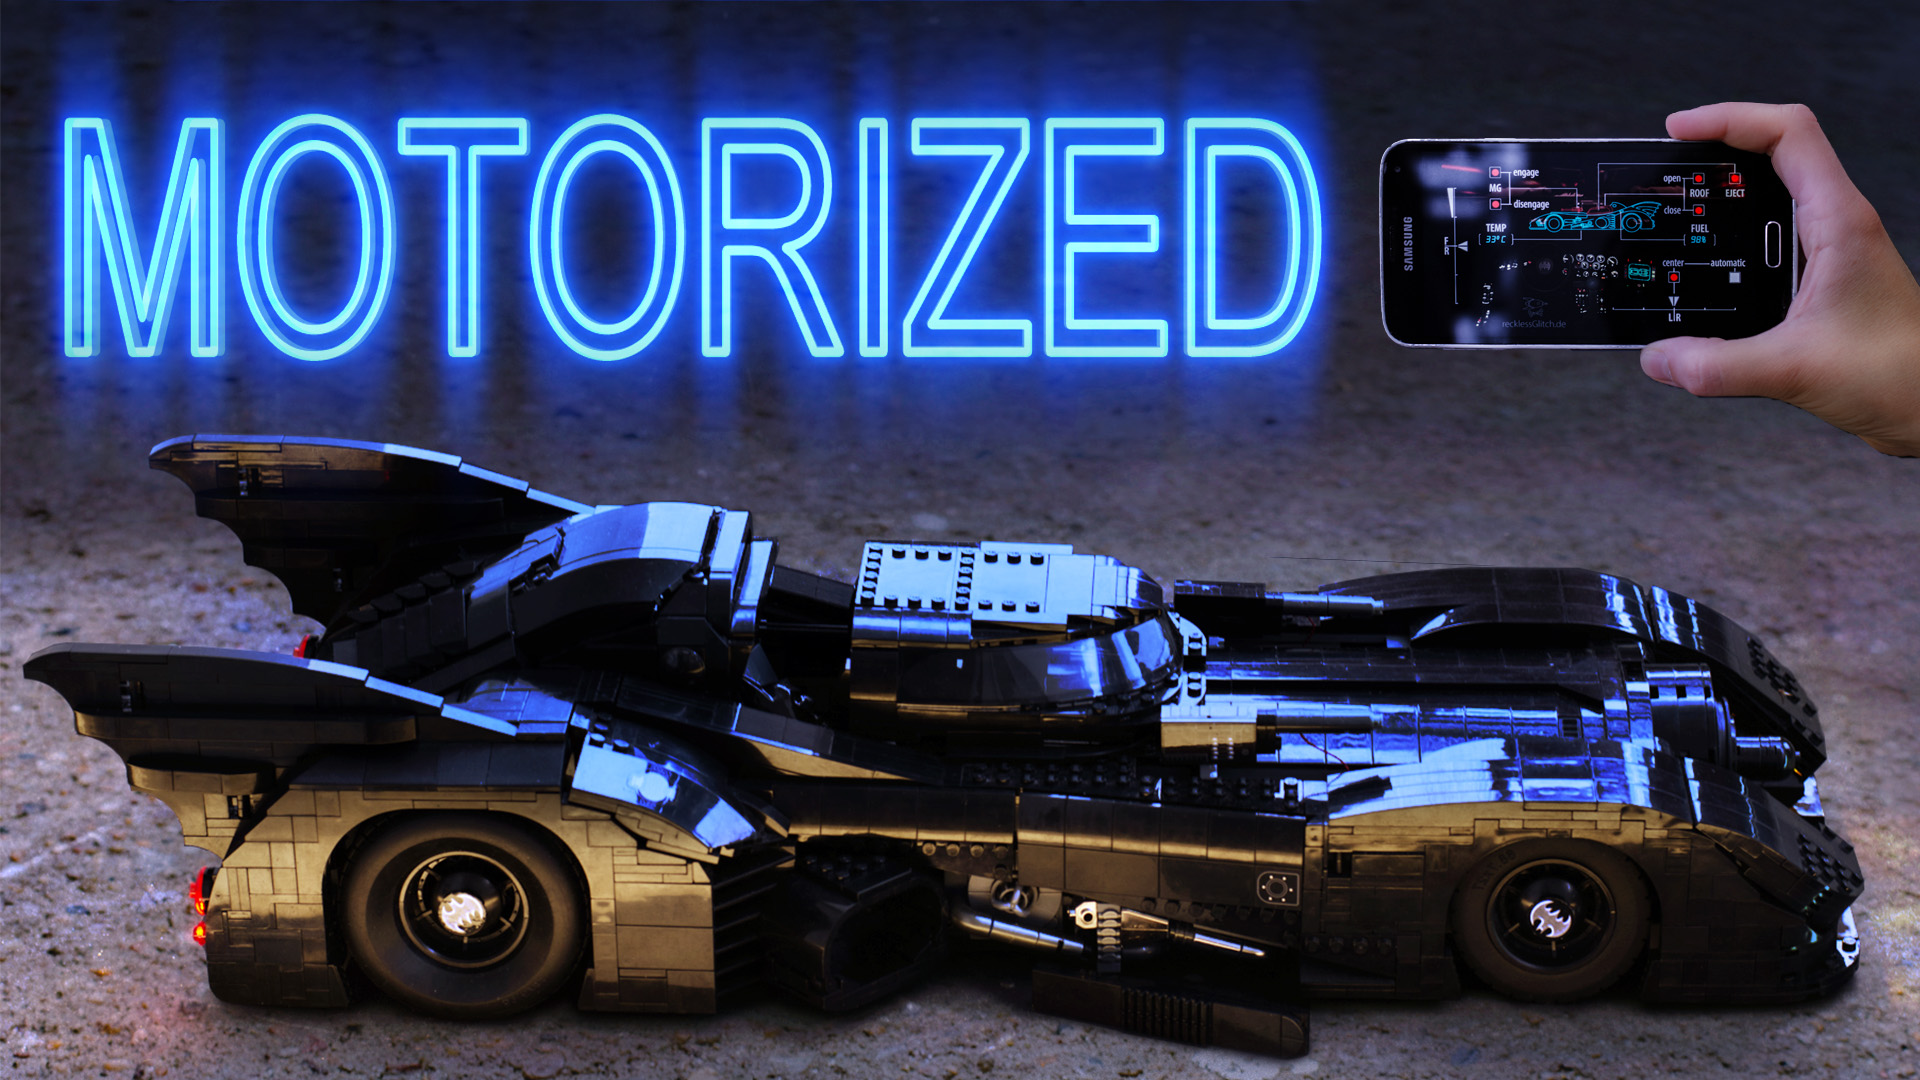
Yes I am one of those geeks talking in pop culture quotes first thing in the morning. When I was 10 years old, there was batman on TV and I hated that 1960s show. I felt personally insulted by these actors taking it all so serious (I had not yet understood the concept of irony) So I did not appreciate the Tim Burton Batman movies with Michael Keaton as Bruce Wayne until I watched them. 30 years later I still love the car and so I wanted to do a motorization again for the pretty well mad LEGO 76139 set.
… save the cockpit!
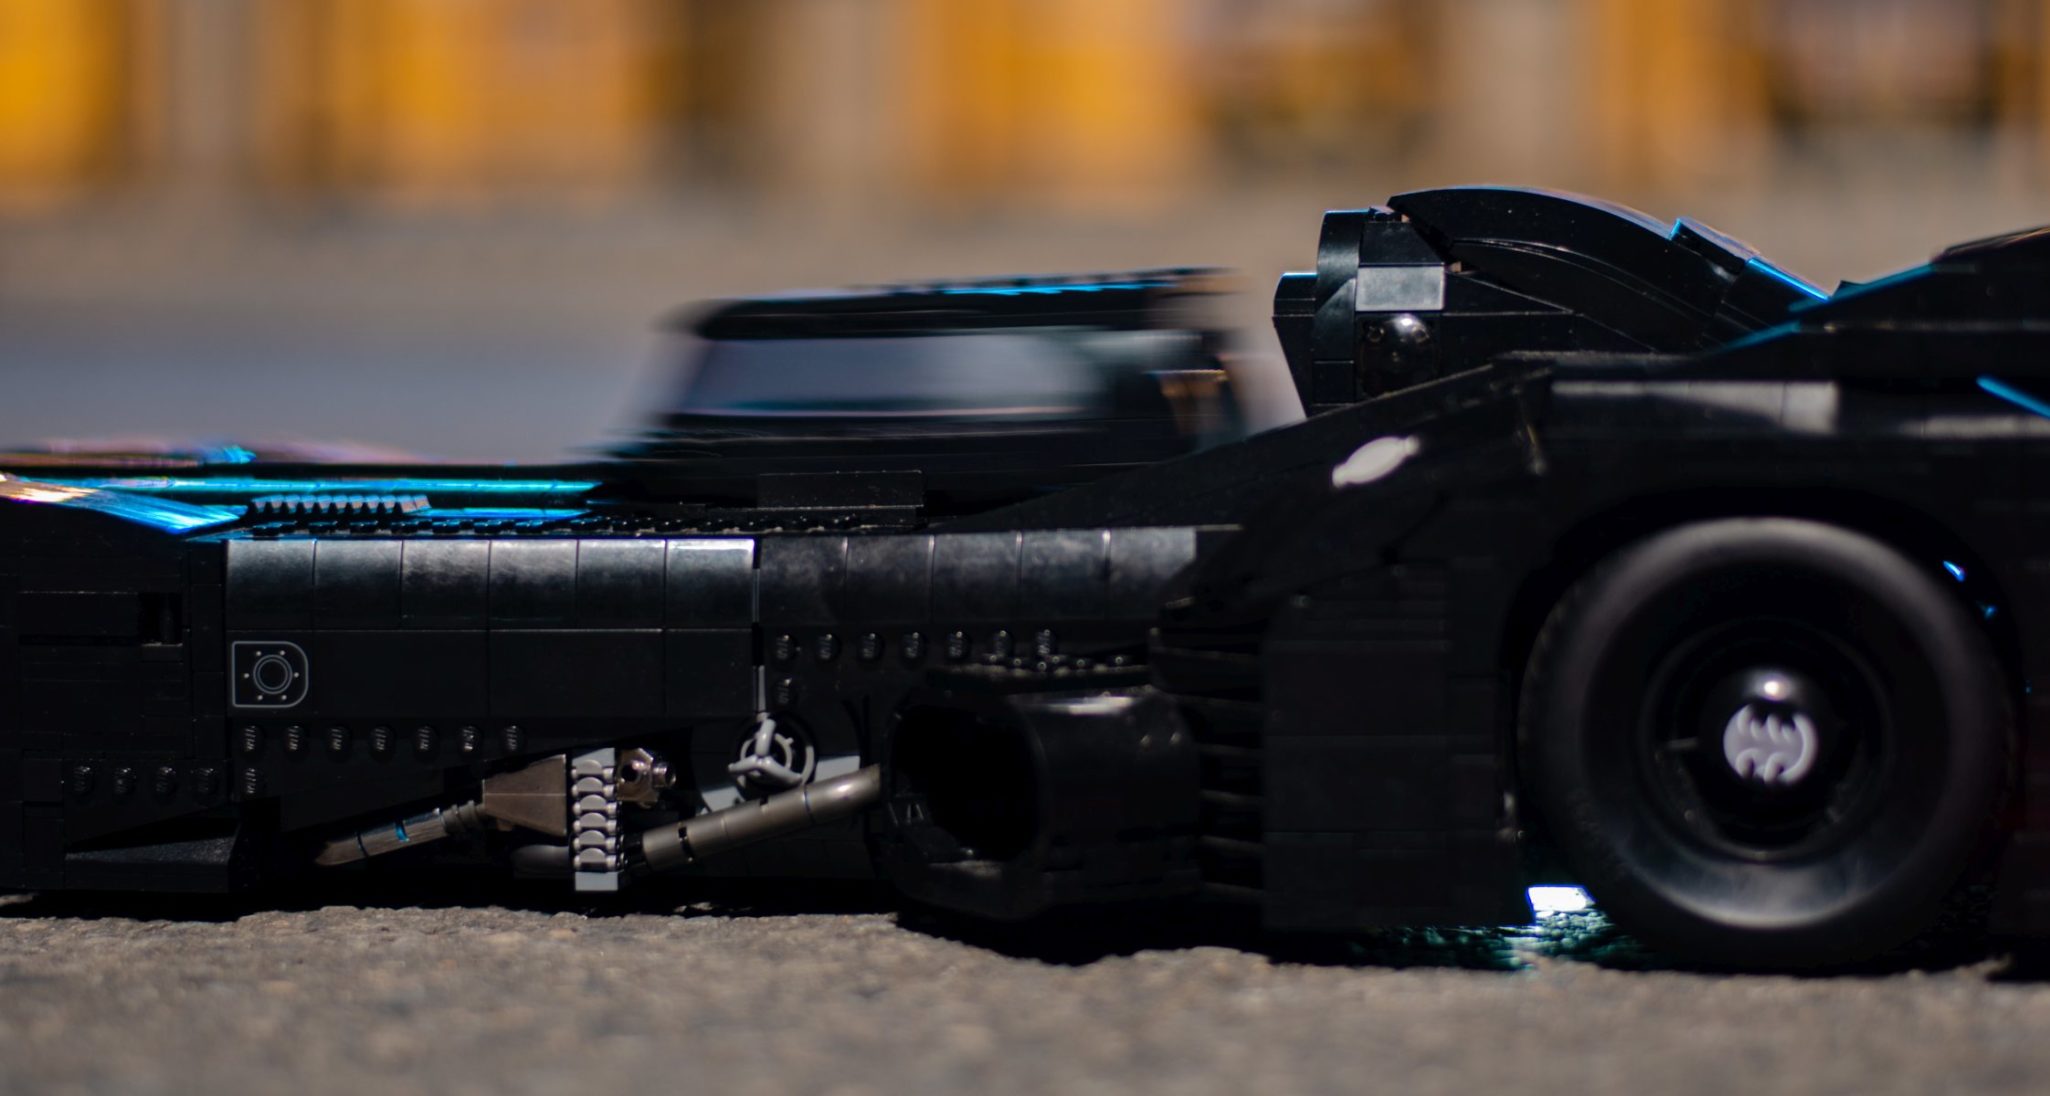
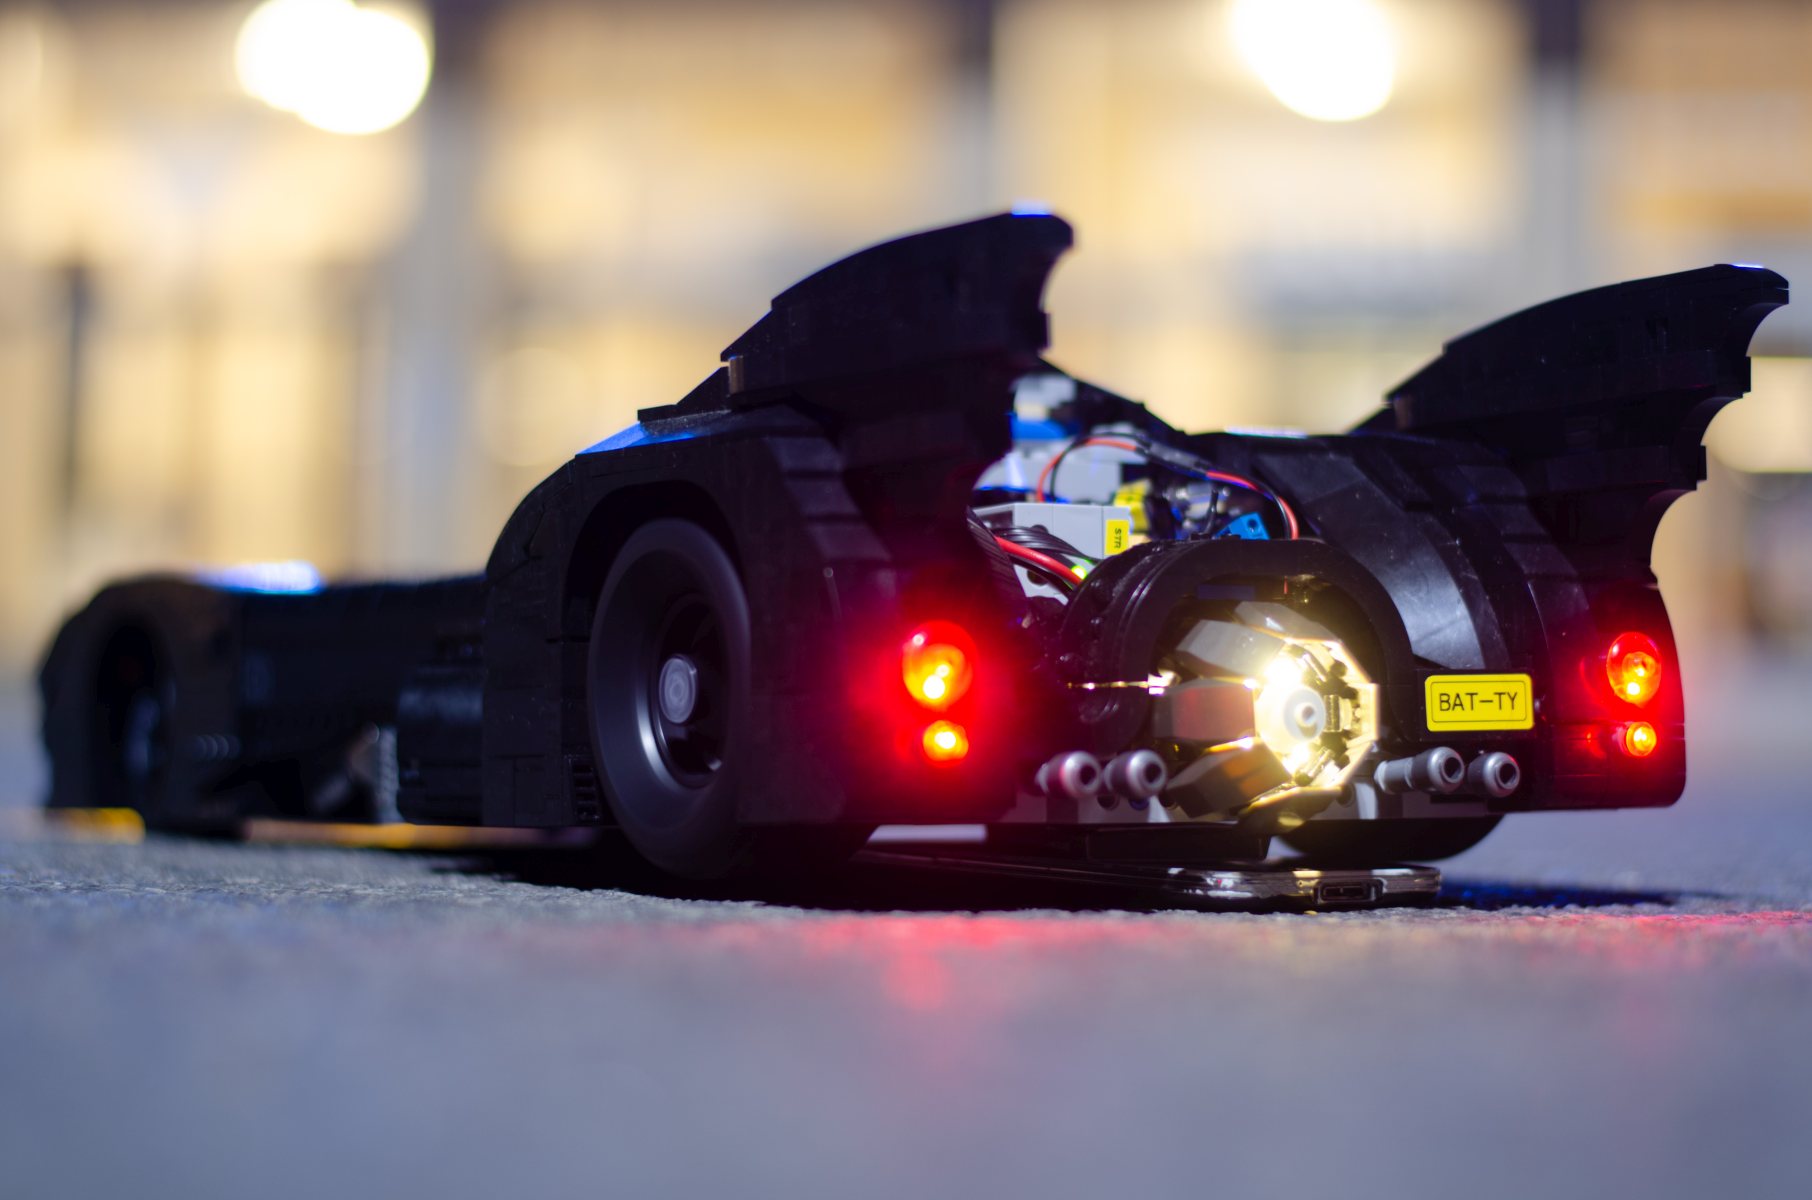
The car is suprising with its ability to resemble the sleak shapes of the original Batmobile and it comes with a few nice mechanical features like a slide-open cabin roof, ejectable MGs (looking very Mafia Movie like in the flick) and a detailed cockpit with all its 1980s flip switches. The cockpit would have been a good place to store the baterys and keep other space for the mechanics and motors – if it wasn’t so very beautiful. So the battery boxes needed to go into the trunk. For two reasons: Firstly there was some space. I had to replace some stabilizing elements back there but then it was empty. Secondly reachability. You need to get to the bateries for charging, replacing or switching the car on. The hatch in the back is just perfect for that.
… doesn’t ‘independend air cooled dual motor drive’ sound fancy?
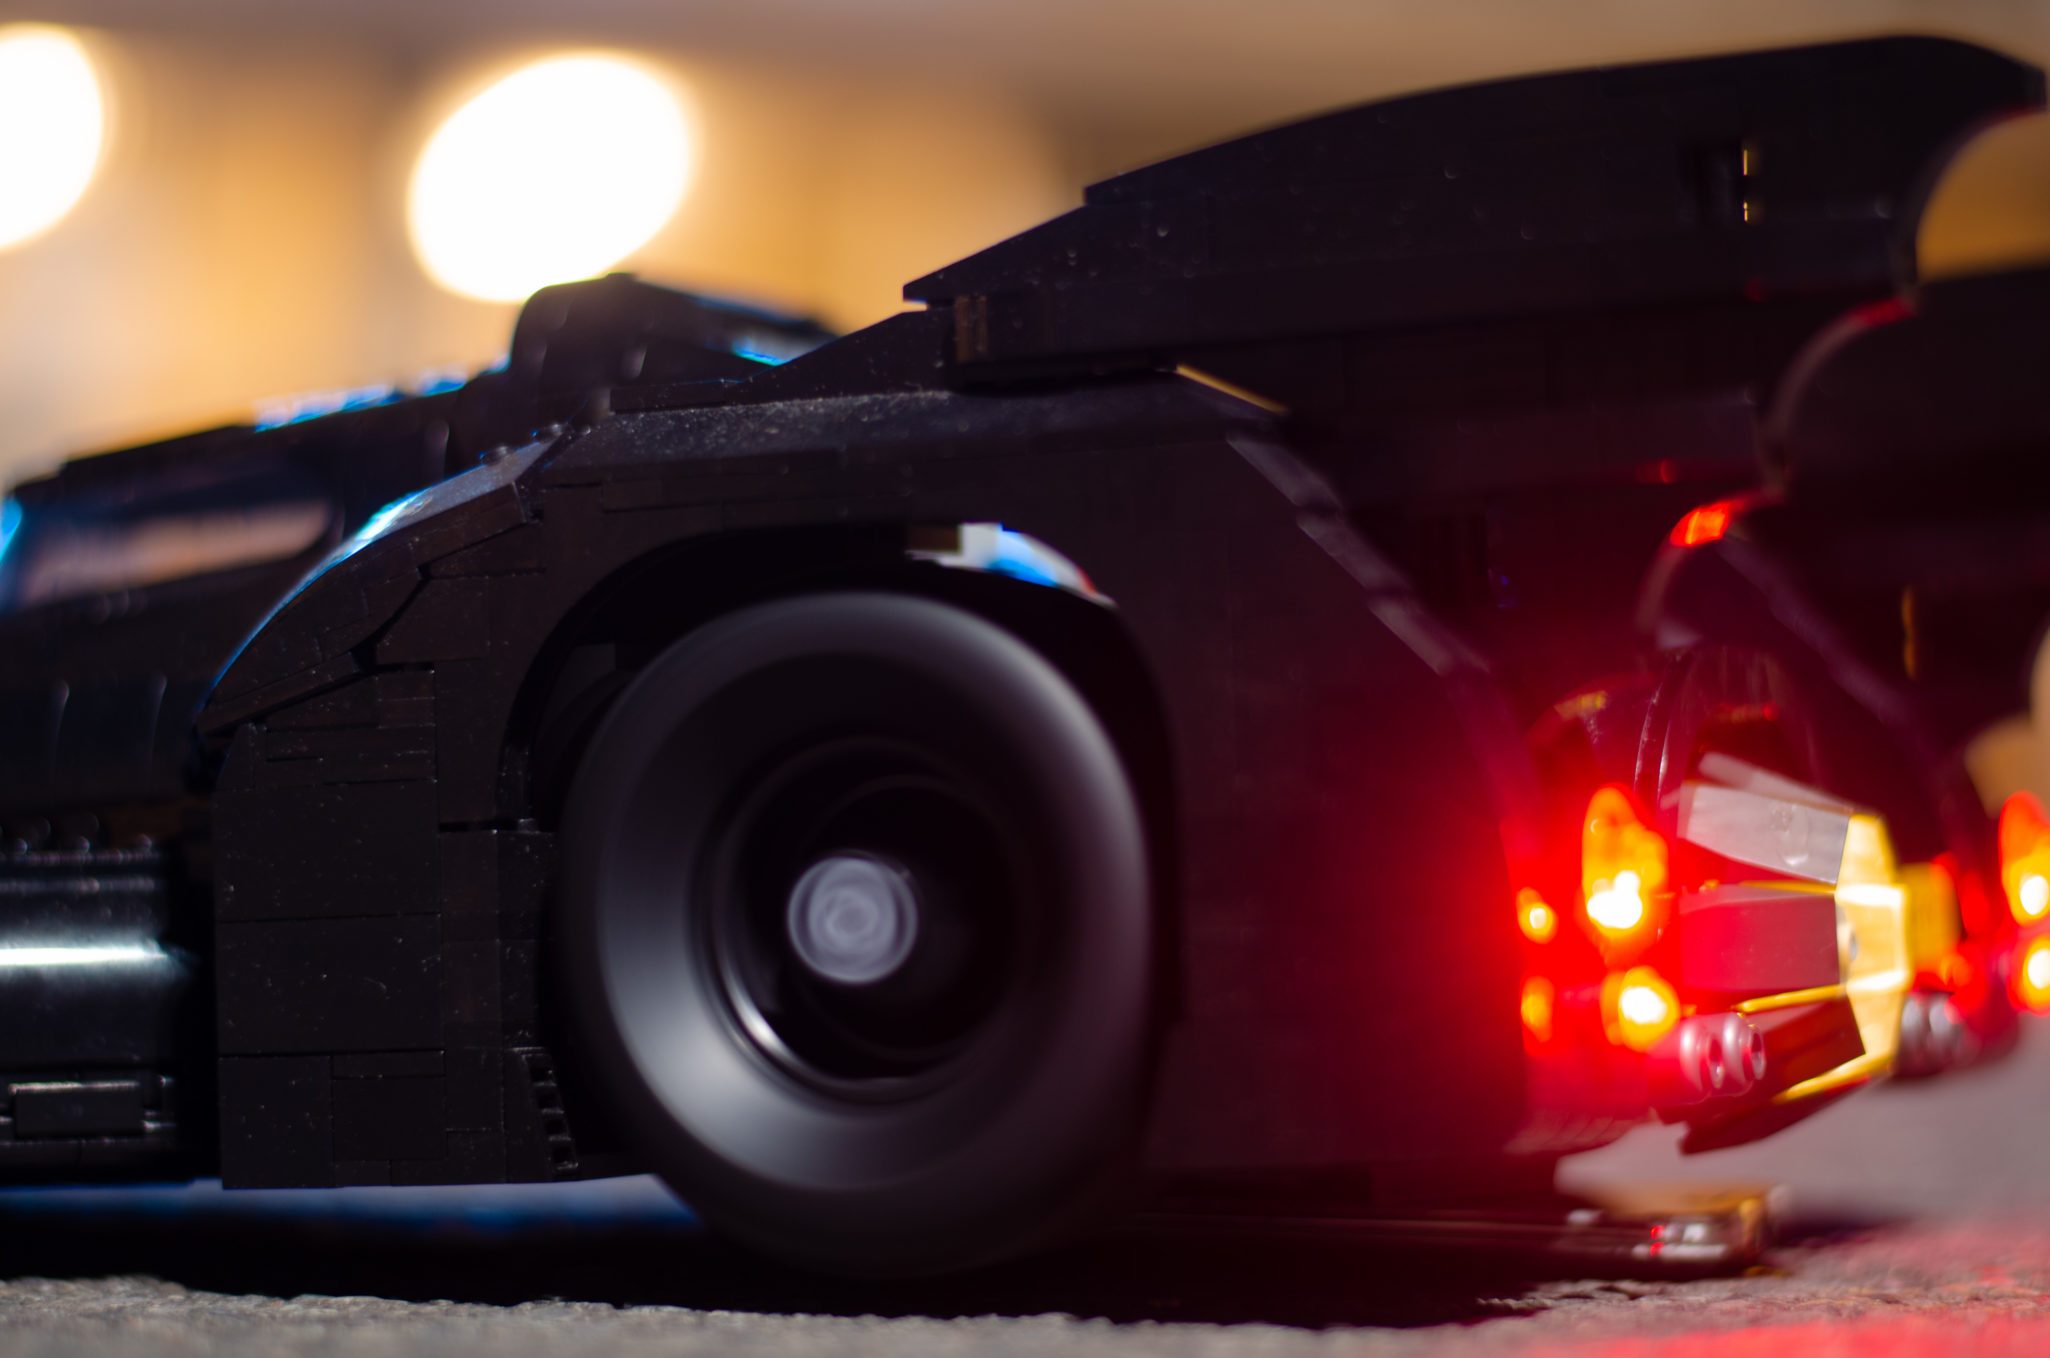
Yet that meant I had to pick a certain type of motor to keep that space free. The LEGO power functions L-motor. Out of sheer necessity I found some space for two of them behind the air intakes at the sides of the Batmobile, which is nice because it helps cooling the motors, especially when running them at 12V instead of LEGO’s 9V. The advantage of two motors is that it works almost like a differential while driving yet if one wheel gets free, the other one can still push a bit more than with a differential which just lets the free wheel spin while the stuck one doesnt move.
… okay, I build something with guns, shame on me as a designer.
Building the mechanics for the MG was easy, just a gear with an internal clutch and a motor. Hiding the slide mechanism for the Cabin roof was more difficult. I even tried a way where i used rotating lide rails to spin worm gears to open the roof, which ended up in horrible noises and was not very reliable. The LEGO linear actuator helped out in the end.
The worst thing to do was building the steering. I wanted to keep the original steering geometry because it is done very smart by LEGO’s designers. The wheel tilt around the spot on which they touch the ground and have a maximum of room that way too. So I developed a way to push that mechanism with a LEGO Power Functions Servo, and a few tricks to make it push in the right way. Since LEGO mechanics are not very precise, due to there size, steerings always have some kind of offset. I compansated that by making the center point a little bit off center aswell. That way it centers perfectly when comming from the right. When coming from the left, I have it overshoot a bit to the right by programming and let it then go back to the center which works out nicely.
For my build I got an Sbrick, that is an aftermarcket control unit for LEGO’s Power Functions. This little box can be powered even by rechargable LIPO batteries – if you dont mind soldering a bit that is. Aditionally it comes with an app that can be programmed – exactly what I needed for the steering. And it even can be controlled with standard game controllers which is much better then a smartphone for it haptical feedback.
Interested? You can find the instructions on rebrickable.